You don’t need a map for your book… but what if you want one? 🙂
Some authors and readers love maps and find them to be a favorite part of a story, and if this speaks to you then you’ve come to the right place!
Creating our very own maps for a fictional location may seem daunting but really it doesn’t need to be overly complicated. And it can be good to do just for our own sake, even if the map never gets included in the final book! I personally like to create basic hand-drawn maps when writing just to keep myself organized 🙂
We’ll walk through some steps below on how to make a fictional map and then you can find additional resources to check out for further reading.
How To Make A Fictional Map
1- Decide What Type Of Map You Want
Figuring out what kind of map you want to make is an important first step. Do you want a simple outline of a single town? A traditional and ornate fantasy map of an entire continent? A modern looking map of a city block?
Ideally we want the map to match the feel of the book as well as the personal style preferences of you, the writer!
And of course it’s important to know up-front if there are any pieces of information you’ll want your map to convey. For instance, if knowing which countries border one another in your fantasy world influences the plot then you may want your map to show their locations.
2- Decide What Medium To Work With
Once you have a basic idea of the style and scope of your map it’s time to decide what medium you want to work with.
A few basic choices are whether you want to create your map by hand (ie: by using paper and pencil) or whether you’ll want to create your map on the computer (ie: using a program like paint).
There are pros and cons to each of these. Creating a map by hand may be more intuitive for many people and it can always be scanned and saved into a computer image, however if you create the map on the computer it may give you more flexibility to make changes later on as needed.
If you’re not sure what you want to do, you can always experiment a bit and use whatever works for you!
3- Identify Major Landmarks And Geography
Alright, it’s brainstorming time. What do you know about the world you’re making a map for?
Do you have a few major cities and a mountain range? Are you focusing on a city block and need to make sure you include the local park? Is it important that you include a couple rivers or a forest somewhere?
At this point we don’t need to know all the little details but we do want to identify the major components and scope of our map.
4- Make A Basic Outline
Once we have the major landmarks of our map identified, it’s time to get to work!
Making a basic outline for our map gives us a framework to use and modify as we move forward. This is much like an outline or rough draft of a story! It doesn’t need to be perfect, we’re just getting things started.
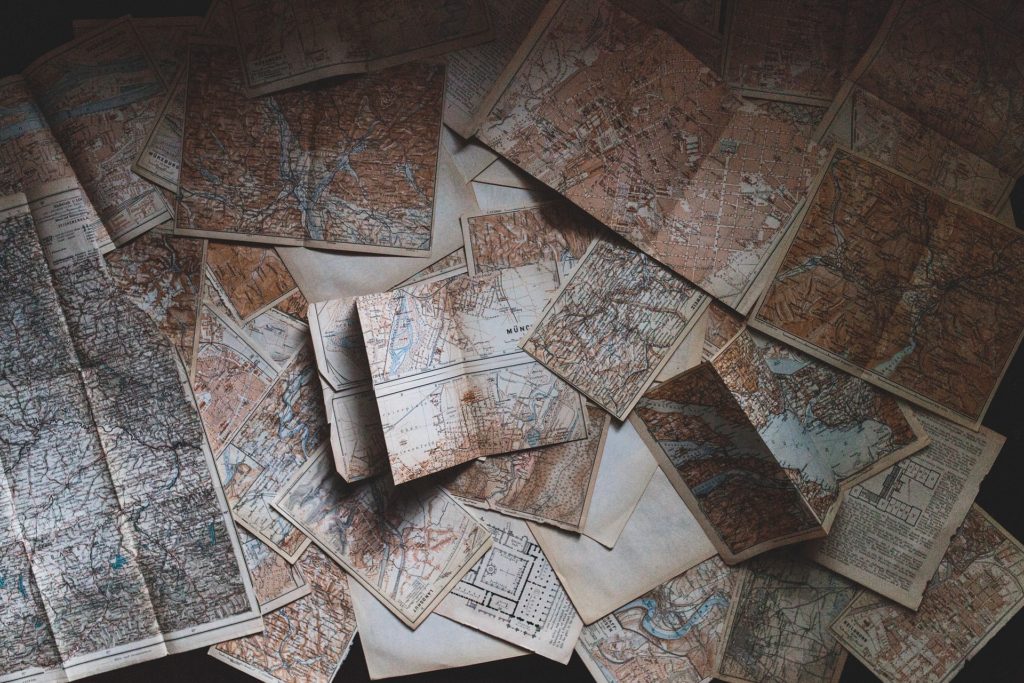
Often I find this is a great step to do in pencil on some scrap paper- nothing fancy is happening, I’m just trying to get a feel for the general shape of things. Sometimes it can be helpful to look at some maps for inspiration, so pull out an old atlas if you have one or scroll through some images on google.
You can start by drawing in the landmarks you know you need to include and work outward or you can just draw some big, basic shapes and go from there. (Yes, my countries all start as wobbly blotches, it’s cool.)
Once you have a rough sketch down you can play with it until you’ve gotten the basic elements how you like them.
This fiddling step can take a bit of time, or you might throw it all on the page and call it done. There’s really no right or wrong way to go about it! You’re not done yet so don’t stress about the details- at this point you just want to make sure you feel satisfied with the basic elements.
5- Add Details and Polish Until It Shines!
Now that you have a basic framework for your map it’s time to fill it in!
It’s up to you how detailed you want to make your map. It could be small and have two street names and a house marked or it could show an entire continent with every river and forest named.
As you add to your map, here are a few geographical features to keep in mind:
- Coastlines are often somewhat jagged, so while your fictional country may start off as a basic circle you may want to make it more misshapen or uneven.
- Mountains are often found grouped together in a range.
- Certain terrain is found in different climates, so a desert would typically not be found next to a frozen tundra, etc.
This is the time to add in random landmarks and name what you want to name. Atlases, baby name books, and fantasy name generators are all great tools for brainstorming names to include on your map. Just like when naming characters, you’ll want to make sure the names of your towns, etc, match the feel of your story and aren’t too confusing.
As you add details you can still feel free to shift things around a bit as needed and make changes! Remember, this is your map! You can make it how however you think best serves your story.
When you feel good about your landmarks and map’s layout, it’s time to polish!
Depending on the medium you’re using you’ll have different options on how to finalize your work. Whether using pens, paint, or some other tool, you can decorate and embellish your map until you love it!
For further reading on how to make a fictional map, check out:
How To Make A Fantasy Map: A Guide – Skill Share
How To Make A Fantasy Map – Online Tabletop
Best of luck with your fictional map making! Once you’ve finished your map you should definitely share it with others (and post it below!) so it can be admired properly 🙂